Lab-2-1
(2.5% of the course mark)
HTTP / HTTPS traffic with Chrome Dev Tools
- This lab introduces students to Chrome DevTools' Network panel, you can monitor and analyze HTTP and HTTPS traffic, inspect request and response details, and check security protocols for each connection. This process allows you to identify how data is transmitted between your web application and servers, helping you troubleshoot issues, verify the secure handling of data, and improve application performance.
Lab objectives
-
By reviewing HTTP and HTTPS traffic, you gain insights into your application's communication with servers.
-
You can check protocols, examine request headers, and identify potential security vulnerabilities. This empowers you to optimize performance, ensure secure data transmission, and troubleshoot network-related issues more effectively.
Setup and execute Test-App
-
Download and extract the file Lab-2-1.zip.
-
Open Visual Studio Code and open the folder of the directory where the folders and files were extracted.
-
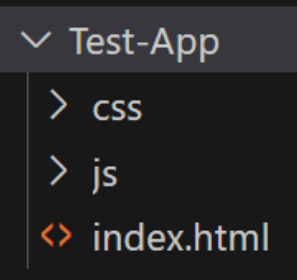
Expand the Test-App folder and look for index.html.
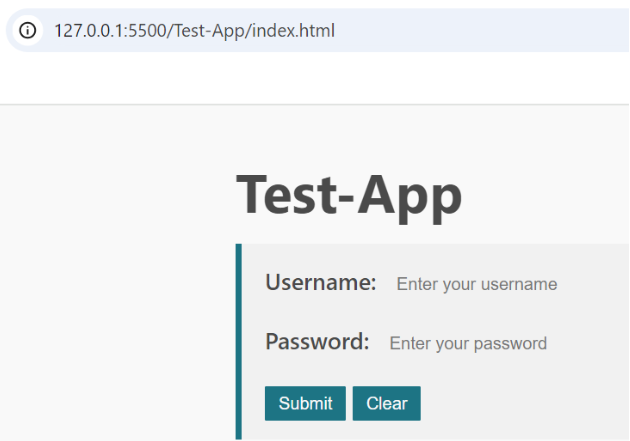
- Right click on index.html and click on Open with Live Server.

- The result of step 4 should open the Test-App (See below).
HTTP traffic with Chrome Dev Network tools
-
Open Chrome browser and enter this url: http://127.0.0.1:5500/Test-App/index.html.
-
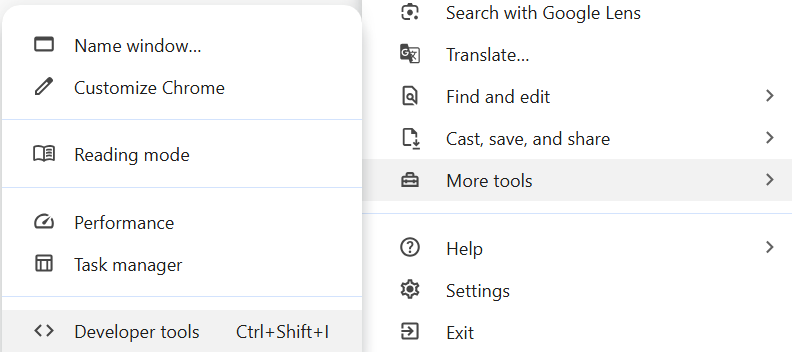
On the top right area of the Chrome browser, click on the 3 dots to open the menu. Then click on More tools > Developer tools.
- On the Developer tools section, click on the 3 dots and click on the first dockside icon to view the Developer tools on a separate window.

- On the top of the Developer Tools, Click on the Network tab.

- Click on the Refresh icon to reload the page or press ctrl -r.
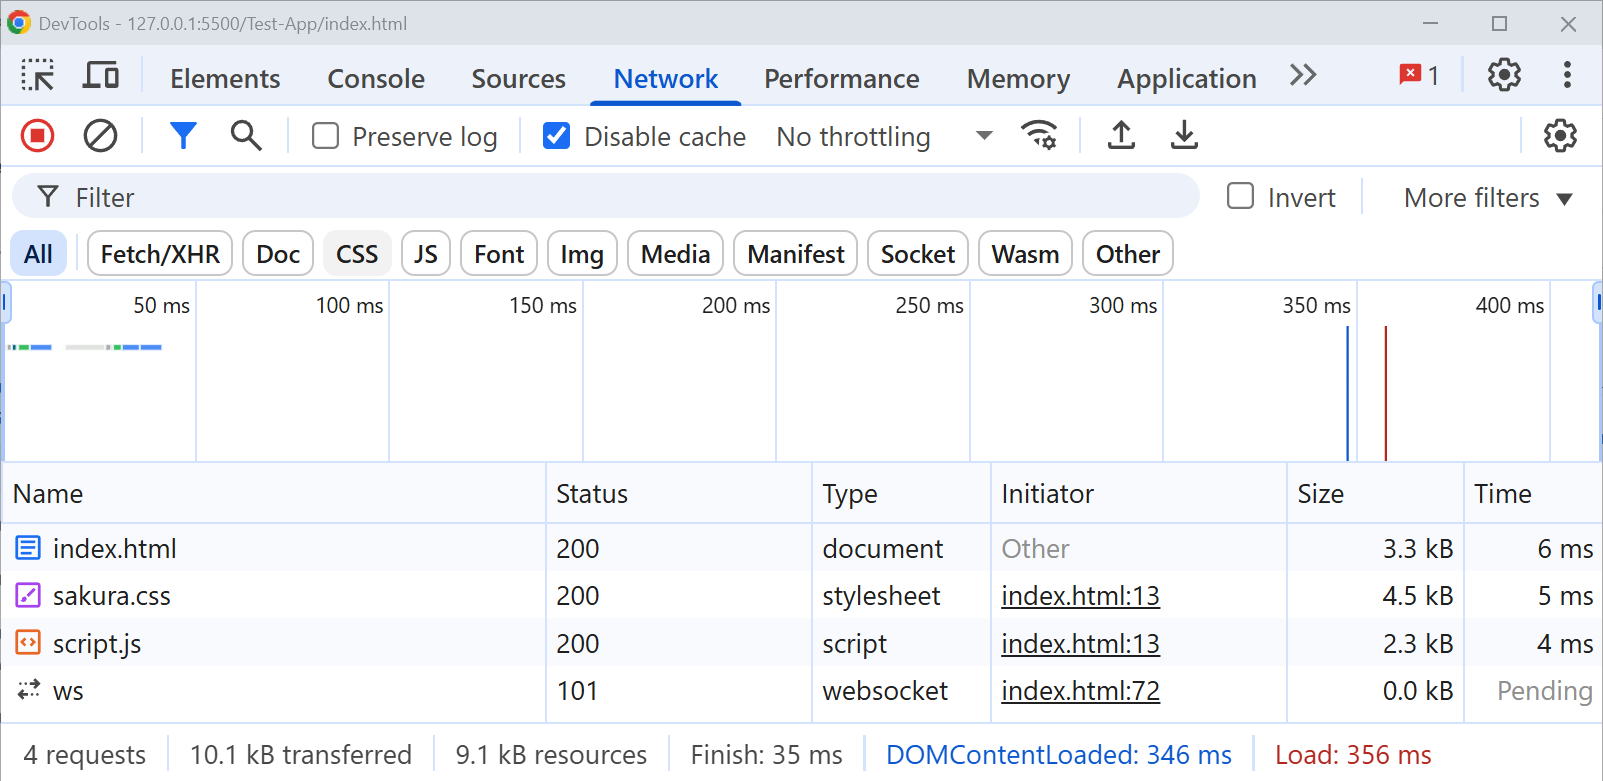
- Take a screenshot of the result and name it: http-network-tab-result.png. It should look something similar to the image below.
-
Click on index.html, then the Headers tab.
-
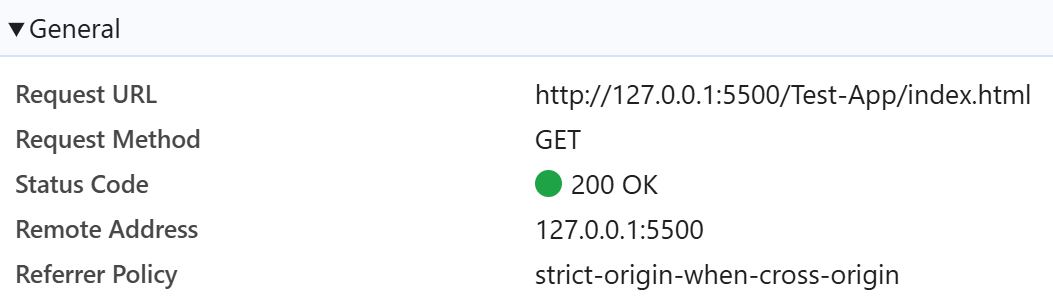
Expand the General section, Take a screenshot and name it: http-header-general.png. It should look something similar to the image below.
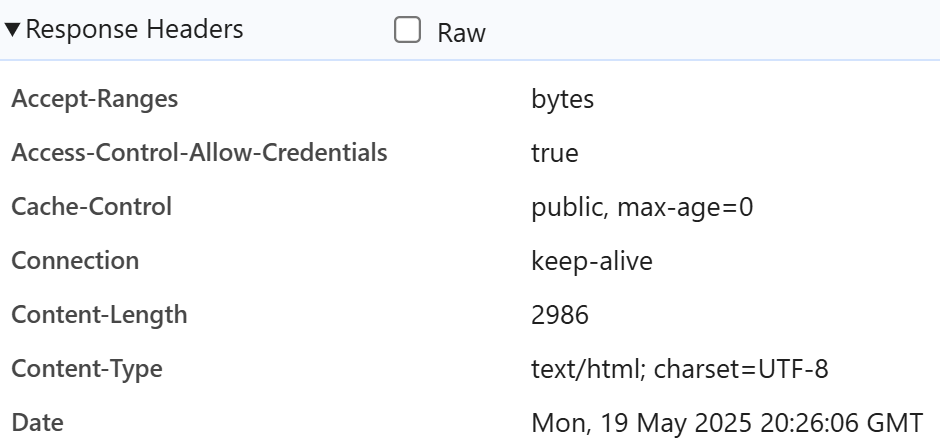
- Expand the Response Headers section, take a screenshot and name it: http-header-response.png. It should look something similar to the image below.
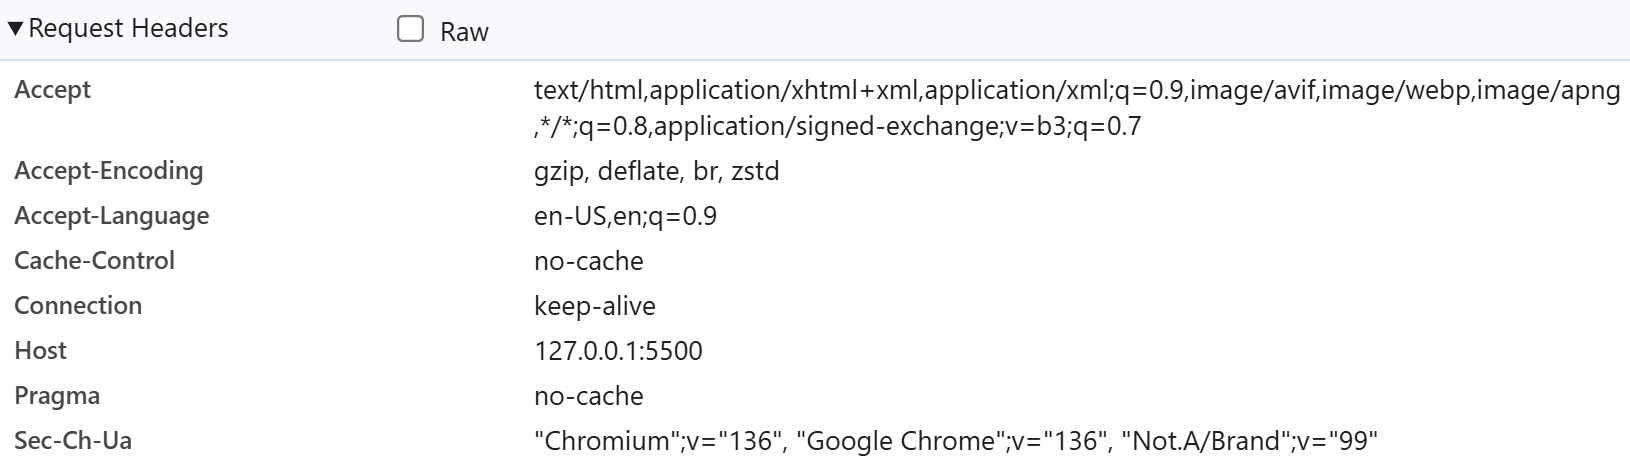
- Expand the Request Headers section, take a screenshot and name it: http-header-request.png. It should look something similar to the image below.
- Choose any website url that uses https and replace the url used on step 1. Repeat steps 1 to 10. On steps when prompted to take a screenshot, use https as the prefix instead of http.
Feel free to explore the other tabs and see what other options / features are available.
Submission
-
Create a folder named submit.
-
Copy all (http-network-tab-result.png, http-header-general.png, http-header-response.png, http-header-request.png, https-network-tab-result.png, https-header-general.png, https-header-response.png and https-header-request.png) the previously saved screenshots to this folder.
-
Create a zip file of this folder.
-
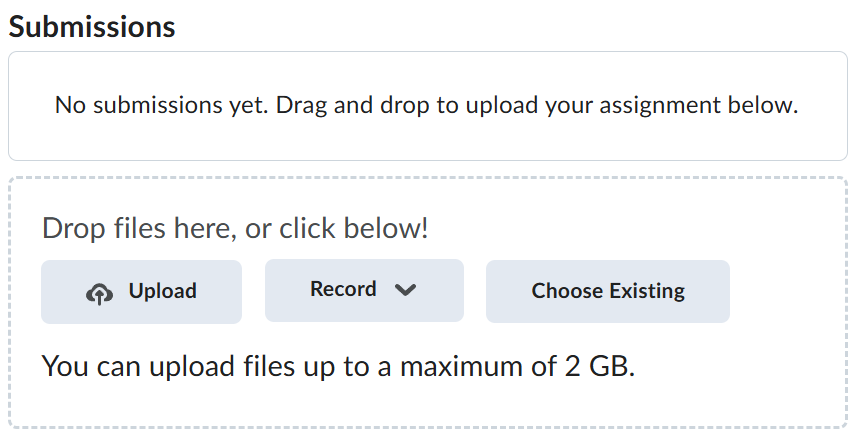
Navigate back to where the lab was originally downloaded, there should be a Submissions section (see below) where the zip file can be uploaded.