Lab-7-1
(2.5% of the course mark)
Apache JMeter Testing
- Using Apache JMeter for the performance test of a Node.js Express application, evaluating response times, concurrency handling, and overall system stability under load.
Lab objectives
-
Understanding of JMeter test plans, thread groups, and samplers.
-
Ability to simulate multiple concurrent users accessing an Express API.
-
Performance metrics such as response time, throughput, and error rate.
-
Identification of bottlenecks and optimization areas in the Node.js app.
-
Improved scalability and stability of the Express application.
Build JS app
-
Download and extract the file Lab-7-1.zip.
-
Open Visual Studio Code and open the JMeter folder.
-
Open the terminal and run the following commands:
npm install
node server.js
Ensure the app is running before proceeding. To test it, open your browser and enter the following URL: http://localhost:3000. You should see a response similar to the one shown below.
{"message":"JMeter sample node app"}
JMeter Test Plan
Introduction
- This test plan aims to evaluate the performance and functionality of a Node.js Express application using Apache JMeter. It includes test scenarios for load testing, stress testing, and functional validation.
Test Environment
-
Application: Node.js Express App
-
Server: Localhost
-
Testing Tool: Apache JMeter
-
Protocol: HTTP
-
Endpoints: REST API endpoints exposed by the Express app
Test Scenarios
-
Functional Testing
-
Verify that all API endpoints return the expected response with correct status codes.
-
Ensure data integrity by sending requests with valid and invalid payloads.
-
Test authentication and authorization mechanisms (If applicable).
-
-
Load Testing
-
Simulate a normal load of users accessing the application simultaneously.
-
Measure response time under varying user loads.
-
Validate server resource utilization (CPU, memory, network).
-
-
Stress Testing
-
Gradually increase the load beyond the expected maximum to identify breaking points.
-
Determine how the application behaves under high traffic conditions.
-
Identify potential bottlenecks in the system.
-
-
Spike Testing
-
Simulate sudden spikes in user requests to observe system stability.
-
Verify how the application handles abrupt traffic surges.
-
-
Endurance Testing
-
Run tests over an extended period to check for memory leaks and performance degradation.
-
Assess the system’s ability to handle sustained traffic.
-
JMeter Test Plan Setup
Configuring JMeter
-
On the bin directory of JMeter, open ApacheJMeter.jar.
-
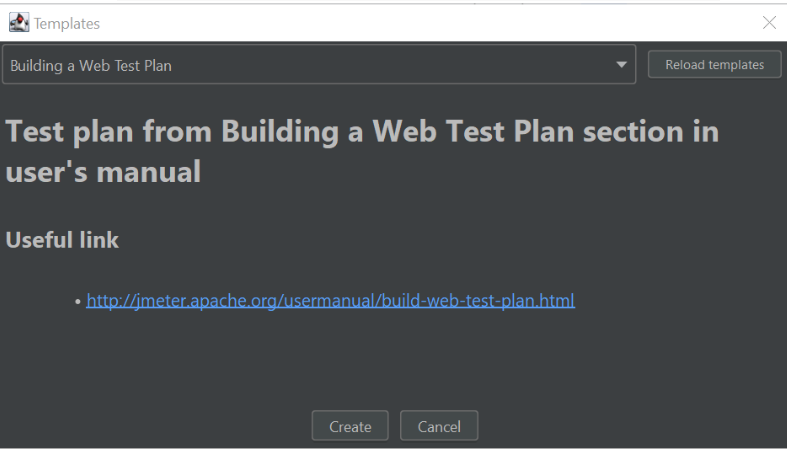
Click on File > Templates.
-
On the drop down list choose: Building a Web Test Plan.
-
Click on Create.
-
Expand Scenario 1 and click on HTTP Request Defaults.
-
On the Basic tab, set the following values.

-
Expand Home Page and click on Assertion.
-
On the Response Assertion, set the following values.
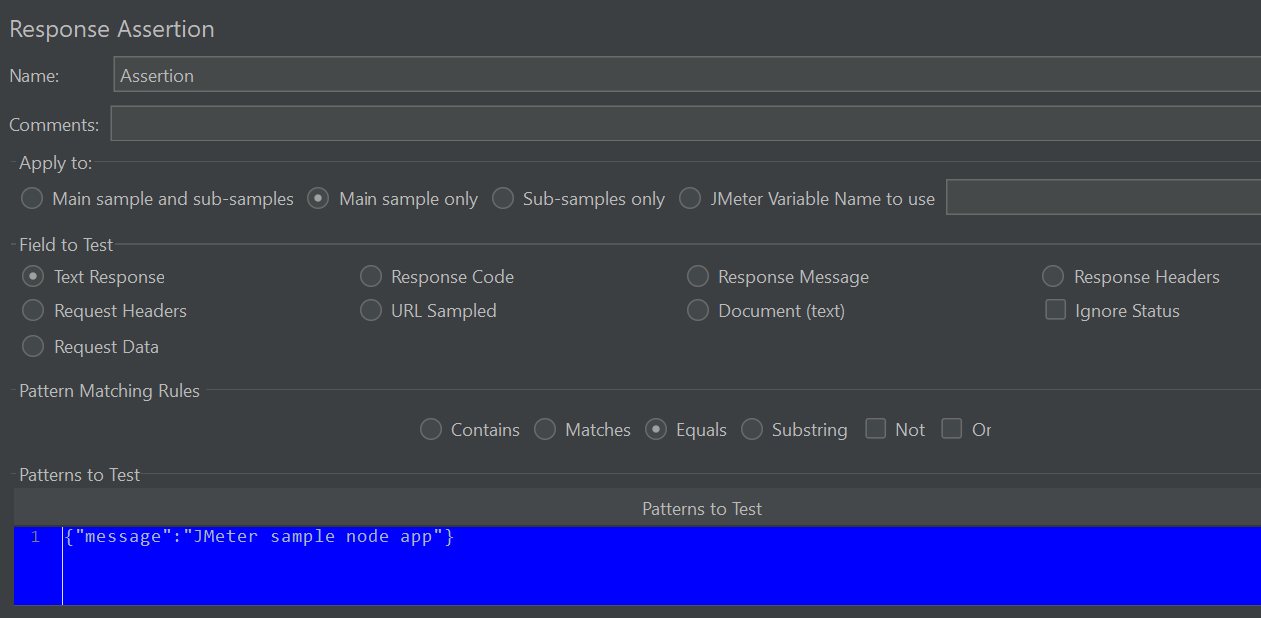
{"message":"JMeter sample node app"}
-
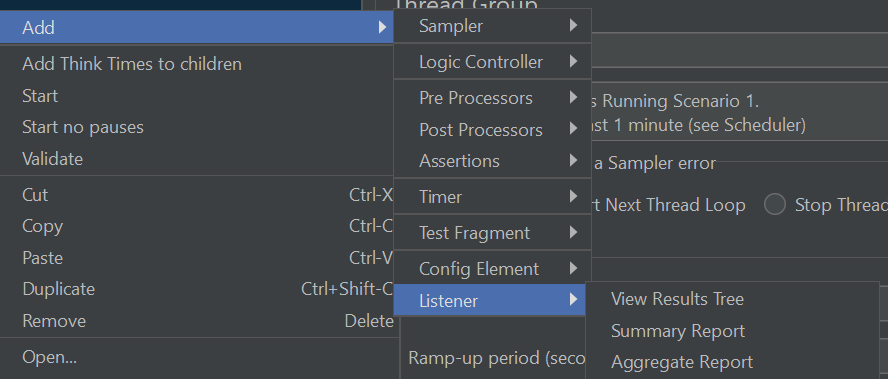
Right click on Scenario 1 and click on Add > Listener > Summary Report.
-
Right click on Scenario 1 and click on Add > Listener > Aggregate Report.
-
Click on Scenario 1 and click on the Save icon to save the changes to the test plan.
-
Click on the Start icon (This is the green triangle) to execute the test plan. The Start icon will turn gray while the test is executing, it will turn back to green once it is finished.
-
Take a screenshot of the following:
-
Summary Report and name it: summary-report.png.
-
Aggregate Report and name it: aggregate-report.png.
-
Terminal output of the JMeter Node.js app and name it: terminal-output.png.
The test plan tests whether the server responds with the expected JSON:
{"message":"JMeter sample node app"}
If it does, that means the server is working correctly. Please review your Aggregate Report and Summary Report, they should show a 0% error rate. Refer back to Step 8 if needed.
Feel free to explore and adjust JMeter settings as you see fit.
Submission
-
Create a folder named submit.
-
Copy all (summary-report.png, aggregate-report.png and terminal-output.png) the previously saved screenshots to this folder.
-
Create a zip file of this folder.
-
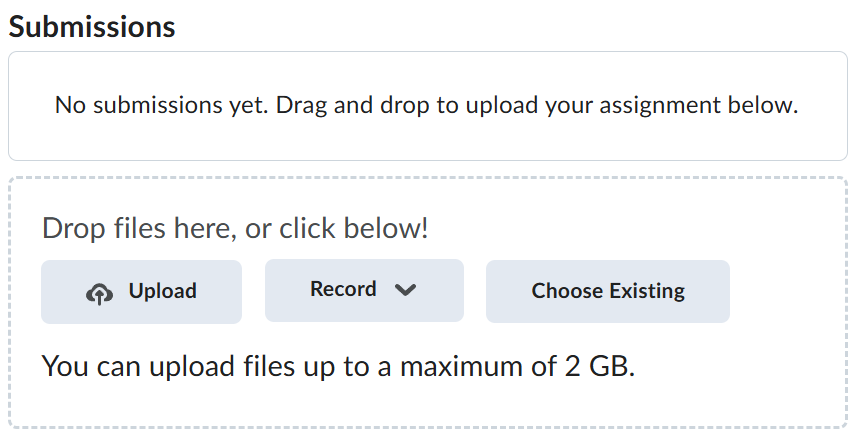
Navigate back to where the lab was originally downloaded, there should be a Submissions section (see below) where the zip file can be uploaded.