Lab-1-1
(2.5% of the course mark)
Web Testing using Puppeteer
- In this lab, students will explore Puppeteer, a Node.js library for browser automation. The lab focuses on how to launch a headless browser, interact with web pages programmatically, and automate tasks such as filling forms, taking screenshots, and extracting data from websites. By completing this lab, students will gain practical experience in building browser automation scripts for use cases like web scraping, UI testing, and performance monitoring.
Lab objectives
-
Set up and configure Puppeteer within a Node.js environment.
-
Launch and control a headless browser to open web pages programmatically.
-
Automate user interactions, such as clicking buttons, entering text, and submitting forms.
-
Capture screenshots of web pages.
-
Extract and manipulate data from websites using DOM manipulation.
Setup and execute Test-App
-
Download and extract the file Lab-1-1.zip.
-
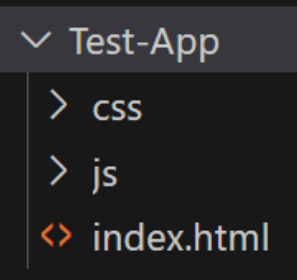
Open Visual Studio Code and open the folder of the directory where the folders and files were extracted.
-
Expand the Test-App folder and look for index.html.
- Right click on index.html and click on Open with Live Server.

- The result of step 4 should open the Test-App (See below).
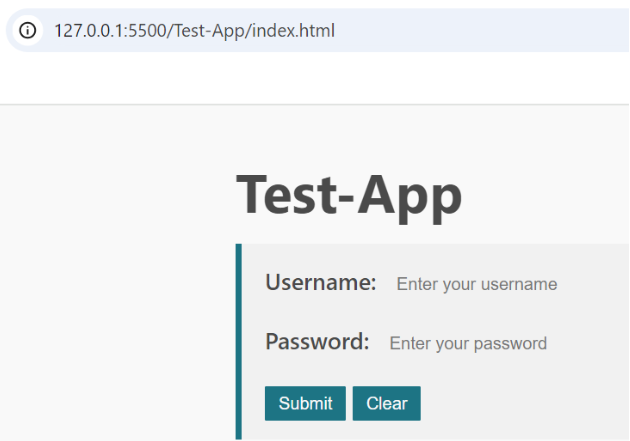
Pay attention to the url of the Test-App, it is usually: http://127.0.0.1:5500/Test-App/index.html. If it is not the same take note of the actual url and update this code later.
// Using the page object, navigate to a website using the url
await page.goto("actual url");
-
Test the app functionality by doing following tasks:
-
Successful logins - Use gbc as the username and password.
-
Invalid logins - Use an login that is invalid.
-
Blank username or password - Either use a Blank username or password.
-
Create a basic Puppeteer app
-
Open Visual Studio Code, create a folder named Puppeteer-App.
-
Open the terminal and change the directory to Puppeteer-App.
-
Initialize the app by typing the command below and press enter.
npm init -y
- Install Puppeteer by typing the command below and press enter.
npm install puppeteer
-
We are going to build a Puppeteer app and that does the following tasks sequentially:
-
Open a headless browser.
-
Load the web page.
-
Look for the username html element and set the text to gbc.
-
Look for the password html element and set the text to gbc.
-
Look for the submit button html element and send enter.
-
Look for the block element and get its inner text.
-
Take a screenshot of the page.
-
Close the browser.
-
-
Create a file named index.js and enter the following js code:
const puppeteer = require("puppeteer");

(async () => {
  // Launch the browser via pupeeteer
  const browser = await puppeteer.launch();

  // Create a new page to interact with
  const page = await browser.newPage();

  // Using the page object, navigate to a website using the url
  await page.goto("http://127.0.0.1:5500/Test-App/index.html");

  // Using the page object:
  // Search for this html element: input[id="userName"]
  // Enter the text gbc
  await page.type('input[id="userName"]', "gbc");

  // Using the page object:
  // Search for this html element: input[id="password"]
  // Enter the text gbc
  await page.type('input[id="password"]', "gbc");

  // Using the page object:
  // Search for this html element: button[id="submitBtn"]
  // Click on this element
  await page.click('button[id="submitBtn"]');

  // Using the page object, take a screenshot of the current page
  const SCREEN_SHOT_NAME = "screenshot.png";
  await page.screenshot({ path: SCREEN_SHOT_NAME });

  // Using the page object:
  // Search for this html element: blockquote[id="mainBQ"]
  // Copy the innerText of this element
  const el = await page.$('blockquote[id="mainBQ"]');
  const text = await page.evaluate((el) => el.innerText, el);
  console.log(text);

  // Close the browser
  await browser.close();
})();
-
On the terminal type node index.js and press enter. The terminal should output something similar to this: Welcome to the Test-App - Sun, 20 Oct 2024 16:18:07 GMT, take a screenshot of this and name it: terminal-screenshot.png.
-
Go to the Puppeteer-App folder and look for puppeteer-screenshot.png. This screenshot should produce the same welcome text from step 7.

Feel free to explore and adjust the code as you see fit.
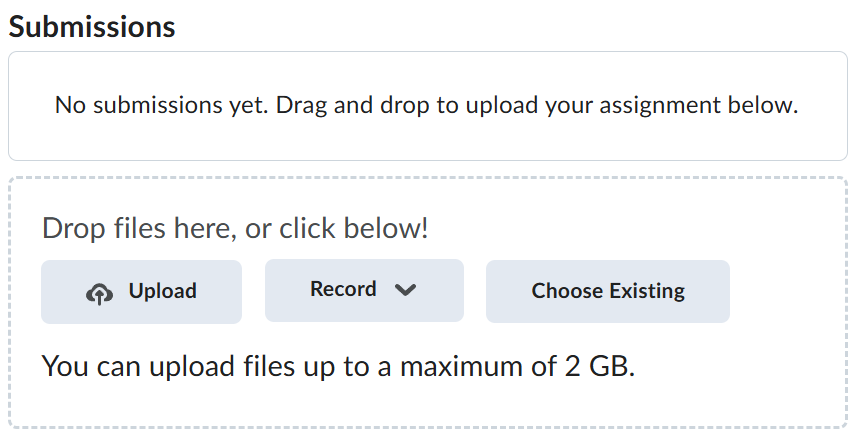
Submission
-
Create a folder named submit.
-
Copy all (terminal-screenshot.png and puppeteer-screenshot.png) the previously saved screenshots to this folder.
-
Create a zip file of this folder.
-
Navigate back to where the lab was originally downloaded, there should be a Submissions section (see below) where the zip file can be uploaded.