Lab-1-2
(2.5% of the course mark)
Web Testing using Selenium
- This lab introduces students to Selenium, a powerful tool for automating web browsers. Participants will learn how to write scripts for automated testing of web applications, covering fundamental concepts like browser interaction, locating elements using XPath/CSS selectors, form submission, and validation of page content. The lab emphasizes hands-on experience with Selenium WebDriver.
Lab objectives
-
Set up and configure Selenium within a Node.js environment.
-
Perform Web Element Interactions by locating and interacting with elements using XPath, CSS Selectors, and other methods.
-
Automate Common Tasks by creating scripts for login flows, form submissions, and navigation across web pages.
Setup and execute Test-App
-
Download and extract the file Lab-1-2.zip.
-
Open Visual Studio Code and open the folder of the directory where the folders and files were extracted.
-
Expand the Test-App folder and look for index.html.
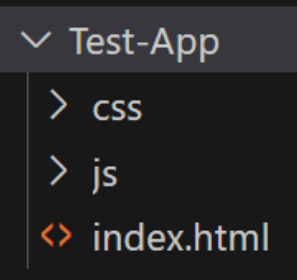
- Right click on index.html and click on Open with Live Server.

- The result of step 4 should open the Test-App (See below).
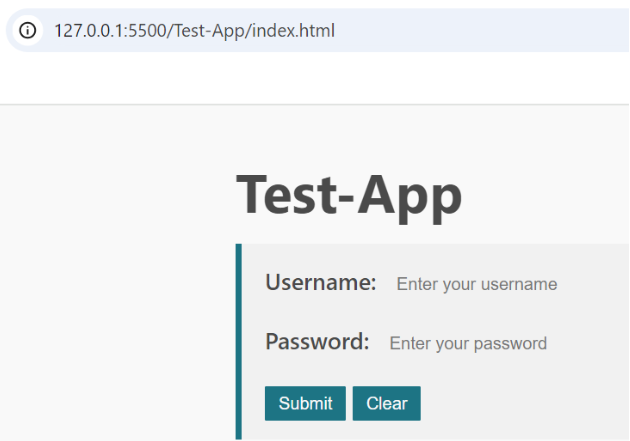
Pay attention to the url of the Test-App, it is usually: http://127.0.0.1:5500/Test-App/index.html. If it is not the same take note of the actual url and update this code later.
// Using the WebDriver, navigate to a website using the url
await driver.get("actual url");
-
Test the app functionality by doing following tasks:
-
Successful logins - Use gbc as the username and password.
-
Invalid logins - Use an login that is invalid.
-
Blank username or password - Either use a Blank username or password.
-
Create a basic Selenium app
-
Open Visual Studio Code, create a folder named Selenium-App.
-
Open the terminal and change the directory to Selenium-App.
-
Initialize the app by typing the command below and press enter.
npm init -y
- Install Selenium by typing the command below and press enter.
npm install selenium
- Install Selenium Webdriver by typing the command below and press enter.
npm install selenium-webdriver
-
We are going to build a Selenium app and that does the following tasks:
-
Open a Chrome browser.
-
Load the web page.
-
Look for the username html element and set the text to gbc.
-
Look for the password html element and set the text to gbc.
-
Look for the submit button html element and send enter.
-
Look for the block element and get its inner text.
-
Take a screenshot of the page.
-
Close the browser.
-
-
Create a file named index.js and enter the following js code:
const fs = require("fs");
const { Builder, Browser, By } = require("selenium-webdriver");

(async () => {
  // Using the WebDriver create an instance of the Chrome browser
  let driver = await new Builder().forBrowser(Browser.CHROME).build();

  // Using the WebDriver, navigate to a website using the url
  await driver.get("http://127.0.0.1:5500/Test-App/index.html");

  let submitBtn;
  let mainBQ;
  let mainBQText;
  let userNameField;
  let passwordField;
  const SCREEN_SHOT_NAME = "screenshot.png";

  // Using the WebDriver, find an html element with a id = "userName"
  userNameField = await driver.findElement(By.id("userName"));

  // Using the WebDriver, enter gbc to the textbox
  userNameField.sendKeys("gbc");

  // Using the WebDriver, find an html element with a id = "password"
  passwordField = await driver.findElement(By.id("password"));

  // Using the WebDriver, enter gbc to the textbox
  passwordField.sendKeys("gbc");

  // Using the WebDriver, find an html element with a id = "password"
  submitBtn = await driver.findElement(By.id("submitBtn"));

  // Using the WebDriver, click on the submit button
  submitBtn.click();

  // Using the WebDriver, find an html element with a id = "mainBQ"
  mainBQ = await driver.findElement(By.id("mainBQ"));

  // Using the WebDriver, get the inner text of the html element
  mainBQText = await mainBQ.getText();
  console.log(mainBQText);

  // Take a screenshot
  let image = await driver.takeScreenshot();
  // Save the screenshot to a file
  fs.writeFileSync(SCREEN_SHOT_NAME, image, "base64");

  // Close the browser
  await driver.quit();
})();
-
On the terminal type node index.js and press enter. The terminal should output something similar to this: Welcome to the Test-App - Sun, 20 Oct 2024 22:33:36 GMT, take a screenshot of this and name it: terminal-screenshot.png.
-
Go to the Selenium-App folder and look for selenium-screenshot.png. This screenshot should produce the same welcome text from step 7.

Feel free to explore and adjust the code as you see fit.
Submission
-
Create a folder named submit.
-
Copy all (terminal-screenshot.png and selenium-screenshot.png) the previously saved screenshots to this folder.
-
Create a zip file of this folder.
-
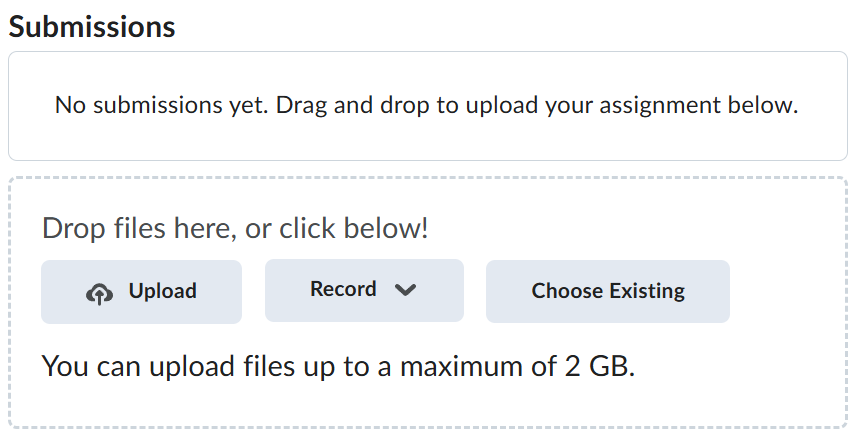
Navigate back to where the lab was originally downloaded, there should be a Submissions section (see below) where the zip file can be uploaded.