Lab-8-2
(2.5% of the course mark)
Jira basic functionality
- This lab introduces learners to the basic features of Jira, a popular project management tool used for tracking issues, bugs, and project tasks. Participants will gain hands-on experience navigating the Jira interface, creating and managing issues, setting up boards, and understanding project workflows.
Lab objectives
-
Navigate the Jira user interface.
-
Create, edit, and track issues such as tasks, bugs, and stories.
-
Configure and manage project boards (Kanban / Scrum).
-
Understand and apply issue statuses and workflows.
-
Assign tasks and set priorities.
Jira Kanban
-
Navigate to: https://jira.com and create an account and login.
-
On the list of apps, click on Jira.

- Click on the Get Jira free button.
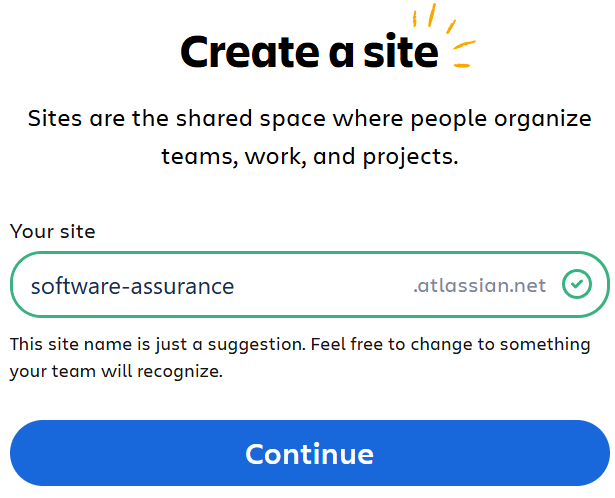
- Create Jira site and click on Continue.
- Choose Software Development.

- Choose Track bugs.

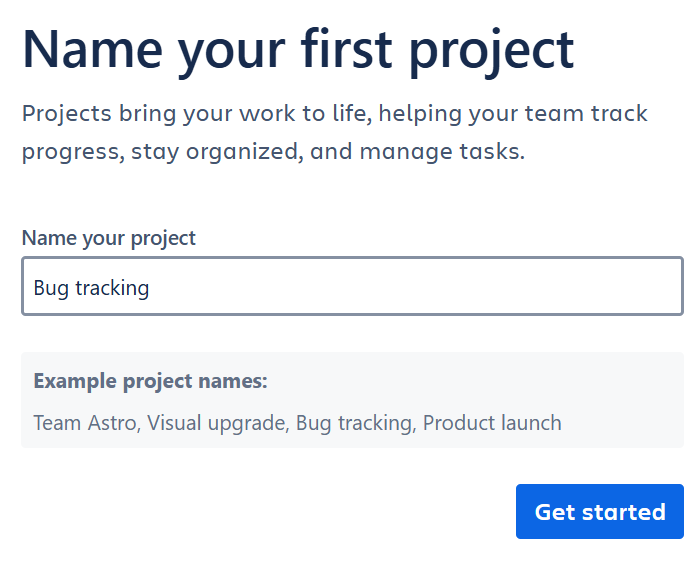
- Enter Bug tracking and click on the Get started button.
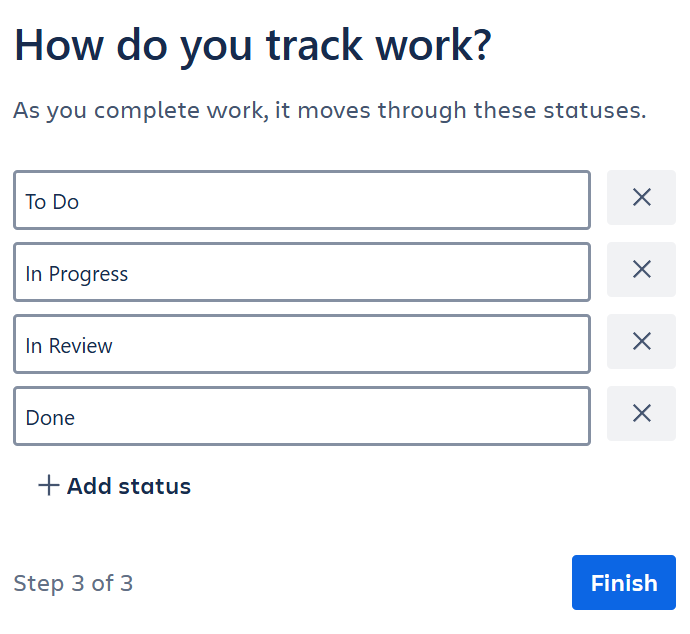
- Choose Bug.

- Accept the default statuses and click Finish.
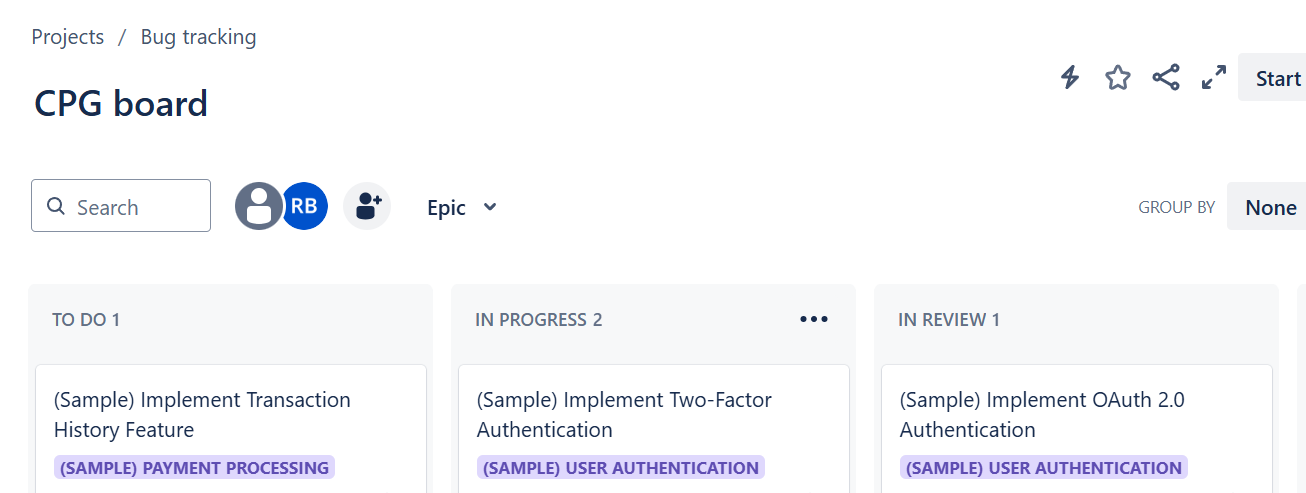
- This should create a board with different statuses and should look similar to the image below.
-
Click on Summary to see the Status overview and Recent activity. Take a screenshot of this and name it: jira-summary.png.
-
Click on Timeline to see the deadlines for the different tasks. Take a screenshot of this and name it: jira-timeline.png.
-
Click on Boards to see tasks represented by a Kanban board. Take a screenshot of this and name it: jira-boards.png.
-
Create a task by clicking on the
 button. Take a screenshot of the newly created task and name it: jira-task.png.
 -
Click on
 to assign a task to your account. Take a screenshot of this and name it: jira-task-assign.png.
 -
Drag the newly created task across different status from TO DO to any of the other statuses (IN PROGRESS, IN REVIEW, and DONE). Take a screenshot of this and name it: jira-task-status.png.
-
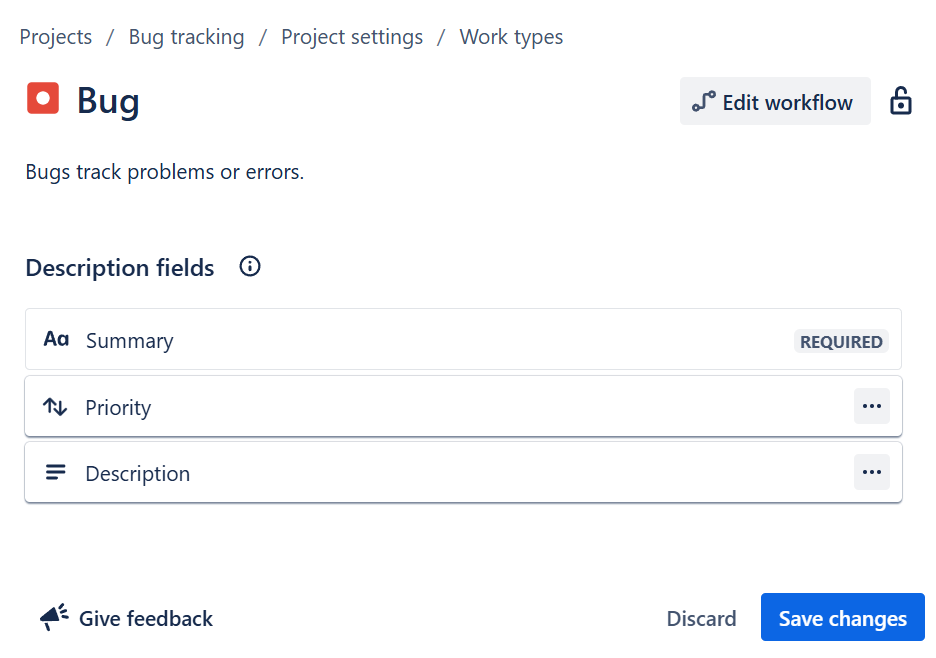
By default the field to change the priority is not added. Add the priority field by clicking on any task. On the bottom right of the screen, click on the configure
 button.
 -
On the right side of the page, you should see the field list. Scroll down until you see the priority
 button. Click on this button to add the priority field.
 -
Click on Save changes.
- Go back to Bug tracking project by clicking on Bug tracking bread crumb.
- The Priority icon should now be added beside the Assign task icon.

- Click on the Priority icon to update the priority. Choose any priority and save the changes. The color of the icon should change based on the priority type. Take a screenshot of this and name it: jira-priority-update.png.
Jira offers different types of tracking from Software bugs to Scrum, feel free to experiment and create different projects on Jira.
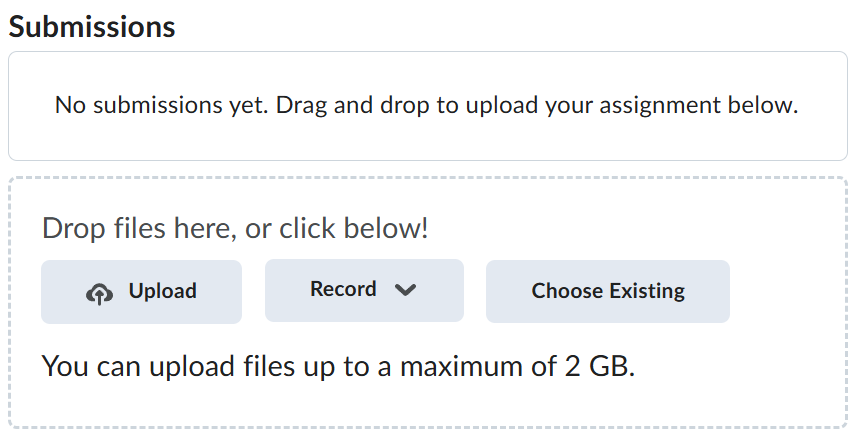
Submission
-
Create a folder named submit.
-
Copy all (jira-summary.png, jira-timeline.png, jira-boards.png, jira-task.png, jira-task-assign.png, jira-task-status.png and jira-priority-update.png) the previously saved screenshots to this folder.
-
Create a zip file of this folder.
-
Navigate back to where the lab was originally downloaded, there should be a Submissions section (see below) where the zip file can be uploaded.