Lab-4-3
(1.67% of the course mark)
API testing using Swagger
- This lab introduces students to API testing using Swagger (OpenAPI) specifications. Learners will use swagger.yaml or swagger.json files to understand, explore, and test RESTful APIs. The focus is on understanding API endpoints, methods, parameters, and responses using tools like Swagger Editor.
Lab objectives
-
Understand the structure and purpose of swagger.yaml and swagger.json files.
-
Visualize API documentation using Swagger Editor.
-
Identify and explain API endpoints, methods, request parameters, and response formats.
-
Test API endpoints using Swagger Editor.
Express-Api-App Setup
-
Download and extract the file Lab-4-3.zip.
-
Open Visual Studio Code and open the folder of the directory where the folders and files were extracted.
-
Navigate to: Express-Api-App and create a new folder named: public.
-
Inside the public folder create file named: swagger.yaml and enter the yaml code below:
openapi: 3.0.3
info:
  title: Users API
  description: API for managing users
  version: 1.0.0

servers:
  - url: http://localhost:3000/api
    description: Production server

paths:
  /users:
    get:
      summary: Get all users
      responses:
        "200":
          description: A list of users
          content:
            application/json:
              schema:
                type: array
                items:
                  $ref: "#/components/schemas/User"
  /users/{id}:
    get:
      summary: Get a user by id
      parameters:
        - in: path
          name: id
          schema:
            type: integer
          required: true
          description: User id
      responses:
        "200":
          description: A user
          content:
            application/json:
              schema:
                $ref: "#/components/schemas/User"
        "404":
          description: User not found

components:
  schemas:
    User:
      type: object
      properties:
        id:
          type: integer
        firstName:
          type: string
        lastName:
          type: string
- Inside the public folder create file named: swagger.json and enter the json code below:
{
  "openapi": "3.0.3",
  "info": {
    "title": "Users API",
    "description": "API for managing users",
    "version": "1.0.0"
  },
  "servers": [
    {
      "url": "http://localhost:3000/api",
      "description": "Production server"
    }
  ],
  "paths": {
    "/users": {
      "get": {
        "summary": "Get all users",
        "responses": {
          "200": {
            "description": "A list of users",
            "content": {
              "application/json": {
                "schema": {
                  "type": "array",
                  "items": {
                    "$ref": "#/components/schemas/User"
                  }
                }
              }
            }
          }
        }
      }
    },
    "/users/{id}": {
      "get": {
        "summary": "Get a user by id",
        "parameters": [
          {
            "in": "path",
            "name": "id",
            "schema": {
              "type": "integer"
            },
            "required": true,
            "description": "User id"
          }
        ],
        "responses": {
          "200": {
            "description": "A user",
            "content": {
              "application/json": {
                "schema": {
                  "$ref": "#/components/schemas/User"
                }
              }
            }
          },
          "404": {
            "description": "User not found"
          }
        }
      }
    }
  },
  "components": {
    "schemas": {
      "User": {
        "type": "object",
        "properties": {
          "id": {
            "type": "integer"
          },
          "firstName": {
            "type": "string"
          },
          "lastName": {
            "type": "string"
          }
        }
      }
    }
  }
}
Use this link as a guide / explanation on the basic structure of a Swagger file.
-
Open the terminal and ensure that you are on the root folder of Express-Api-App.
-
Type the following commands below and press enter.
npm install
npm run start
Swagger Testing
-
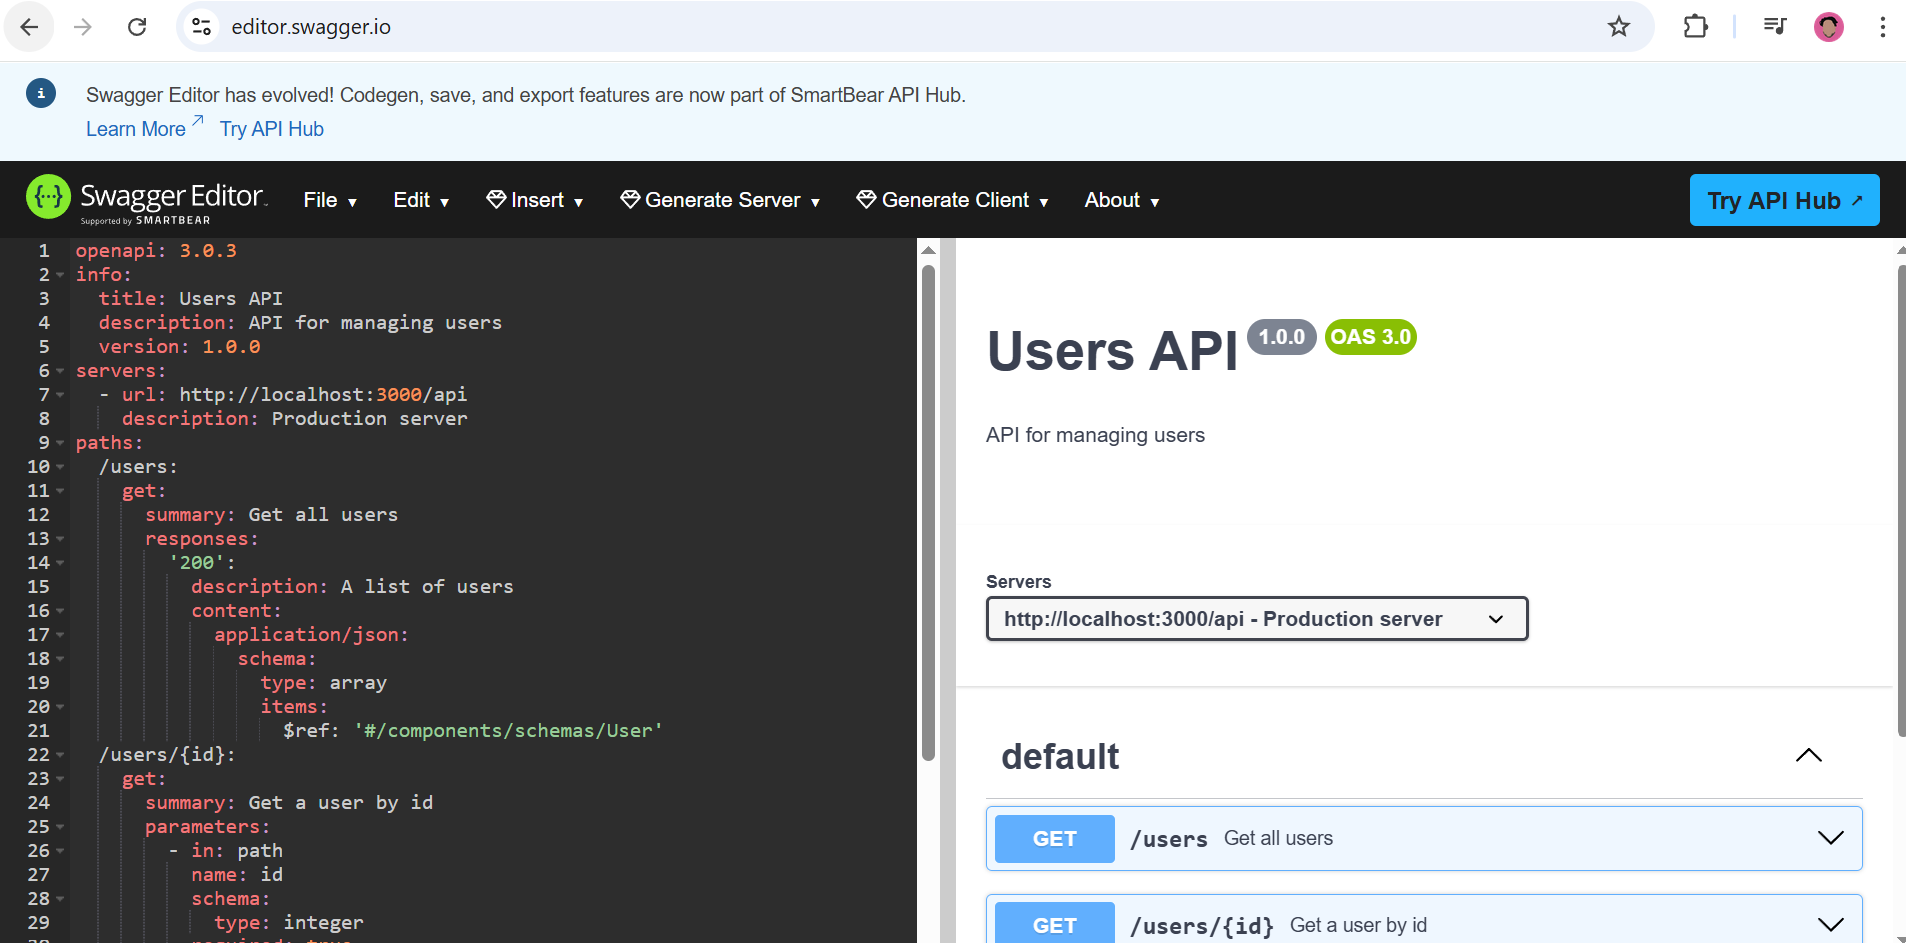
Navigate to https://editor.swagger.io.
-
Click on File > Import URL.
-
Enter http://localhost:3000/public/swagger.yaml and click OK.
-
You should see something similar to the image below.
-
Click on the /user Get all users service.
-
Click on Try it out then Execute.
-
Scroll down to view the response. Take a screenshot of the response and name it: get-all-users-yaml.png.
-
Click on the /users/{id} Get a user by id service.
-
Click on Try it out and look for the id text box and enter any number from 1 to 10.
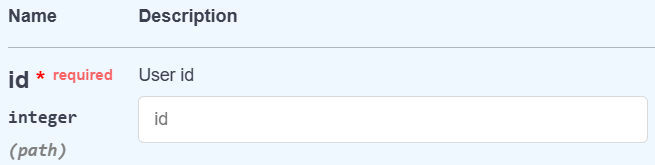
-
Click on Execute.
-
Scroll down to view the response. Take a screenshot of the response and name it: get-a-user-by-id-yaml.png.
-
Click on File > Import URL.
-
Enter http://localhost:3000/public/swagger.json and click OK.
-
Repeat steps 5 - 11 and just name the screenshots get-all-users-json.png and get-a-user-by-id-json.png respectively.
Feel free to experiment with public api's such as {JSON} Placeholder and create a swagger yaml or json file to test the api.
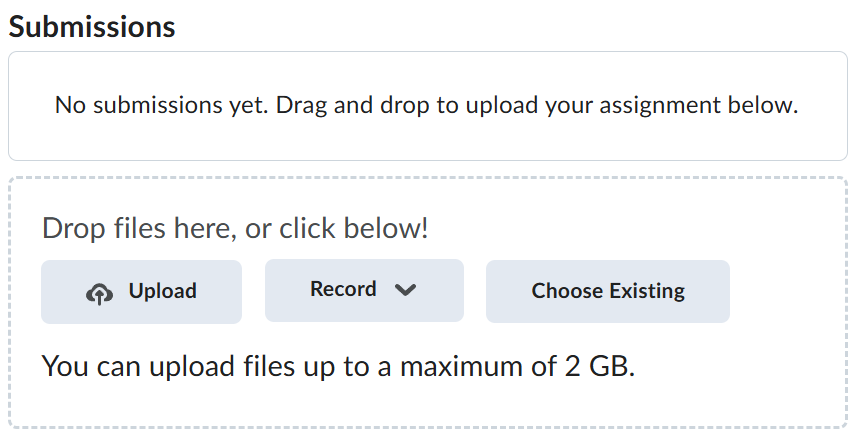
Submission
-
Create a folder named submit.
-
Copy all (get-all-users-yaml.png, get-a-user-by-id--yaml.png, get-all-users-json.png, and get-a-user-by-id-json.png) the previously saved screenshots to this folder.
-
Create a zip file of this folder.
-
Navigate back to where the lab was originally downloaded, there should be a Submissions section (see below) where the zip file can be uploaded.